Mid-century Modern Furniture and Decor for the Modern Home
Inventory
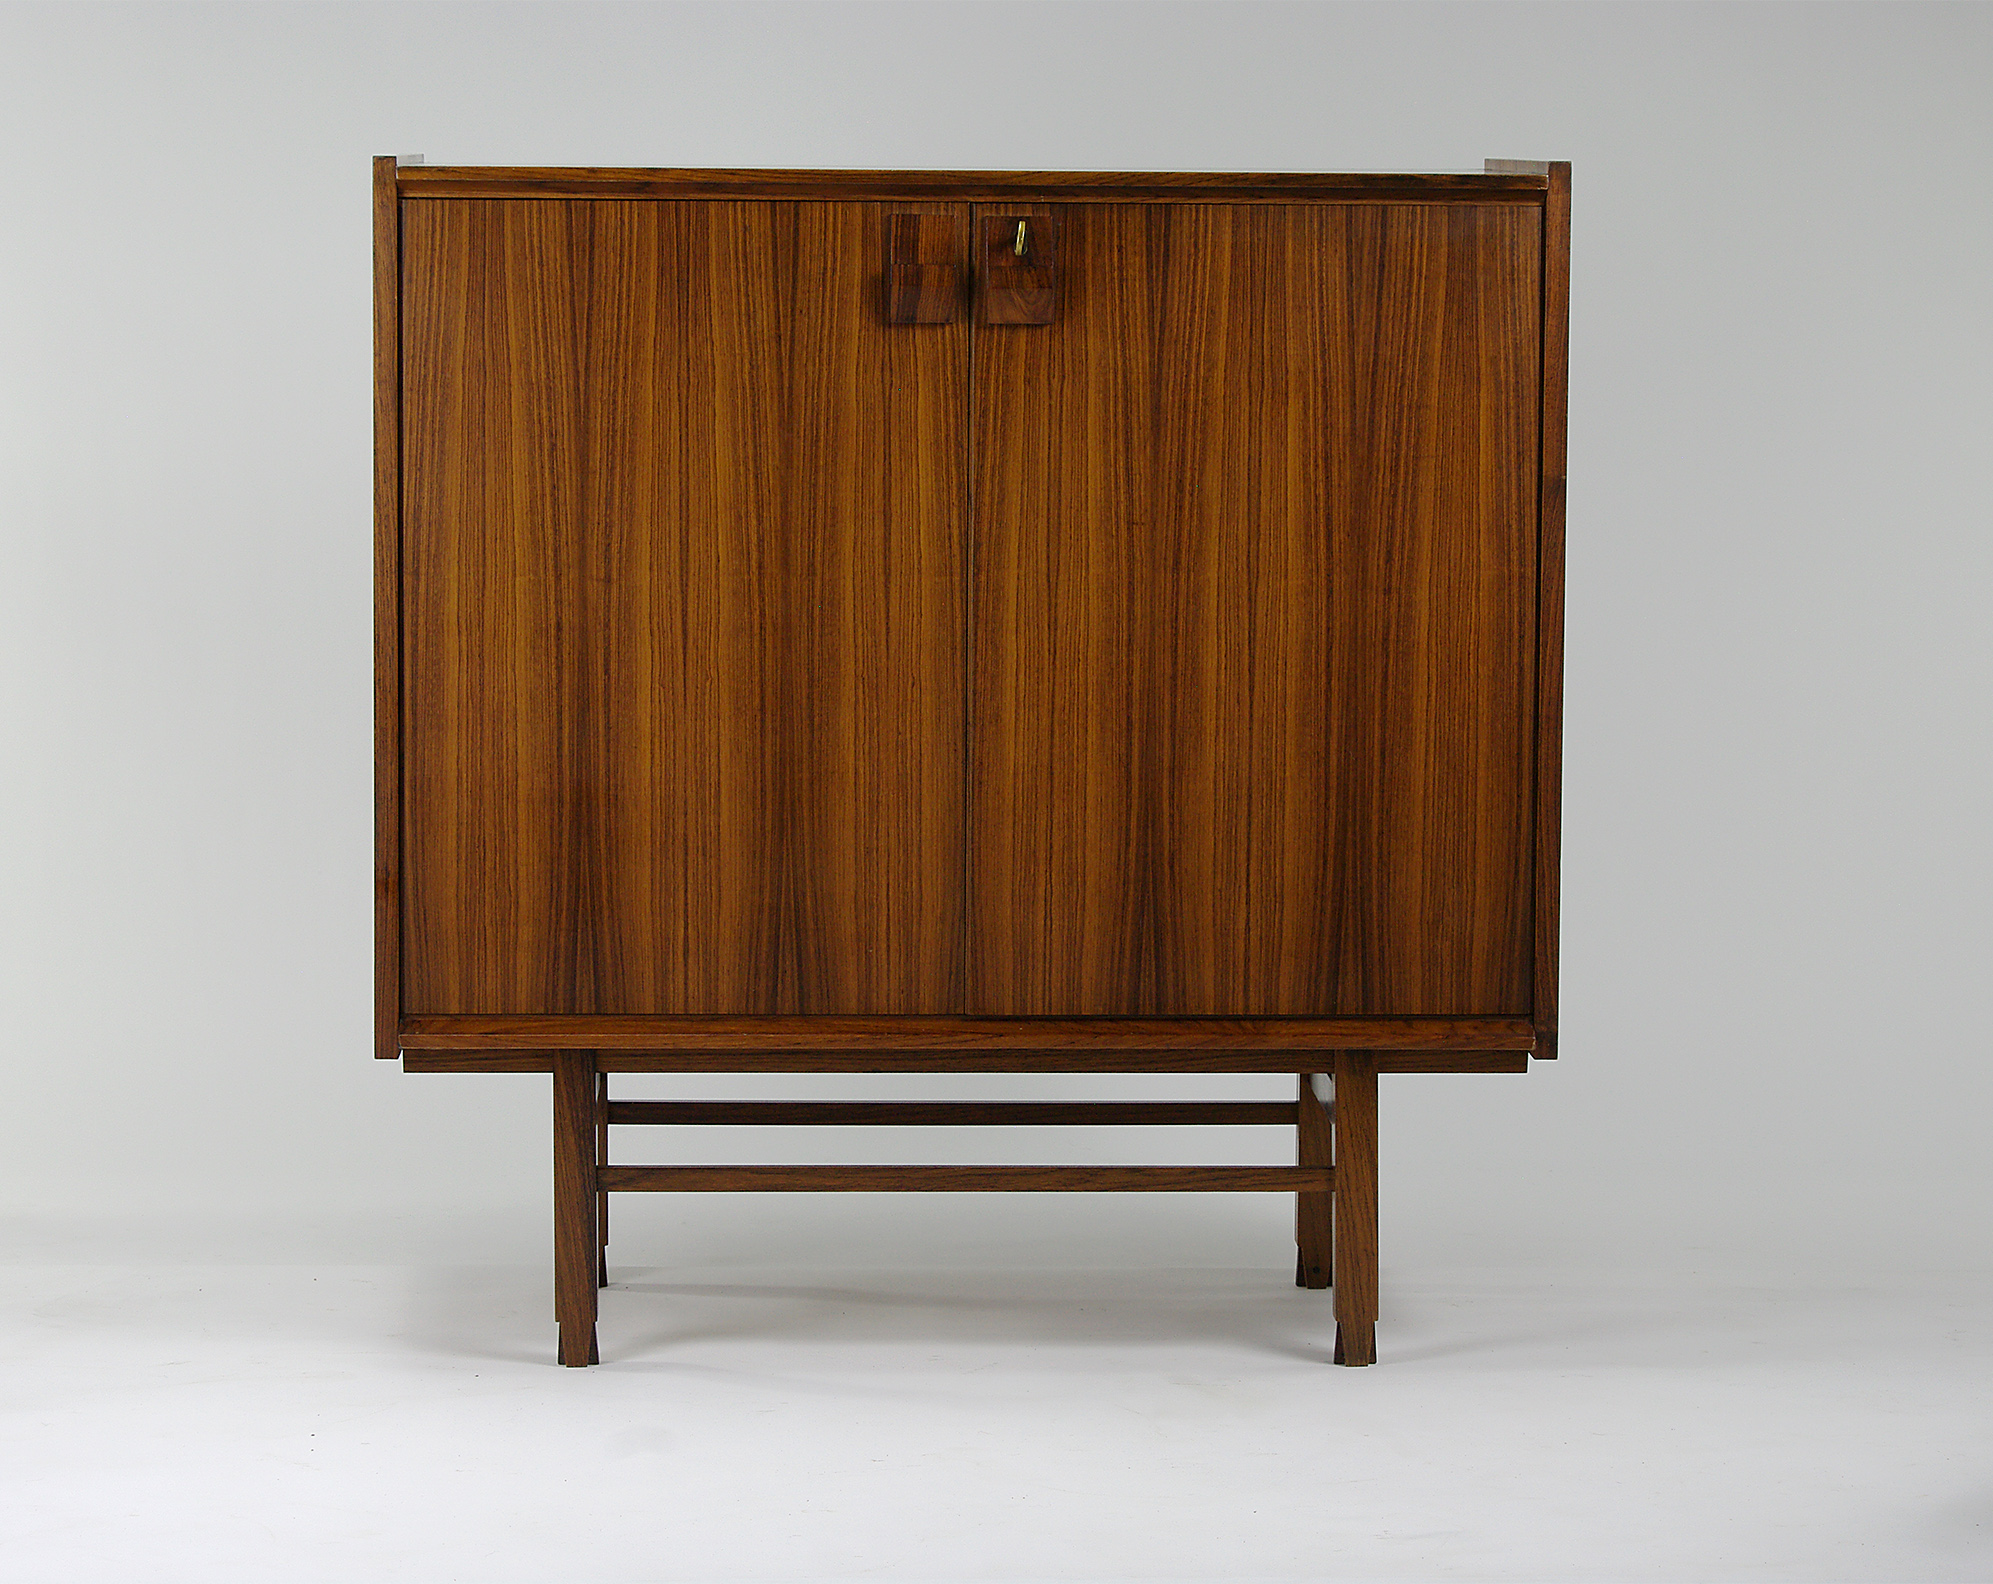
See our current mid-century inventory. Items that have come into the studio more recently are posted on our Instagram page first!

Our Story
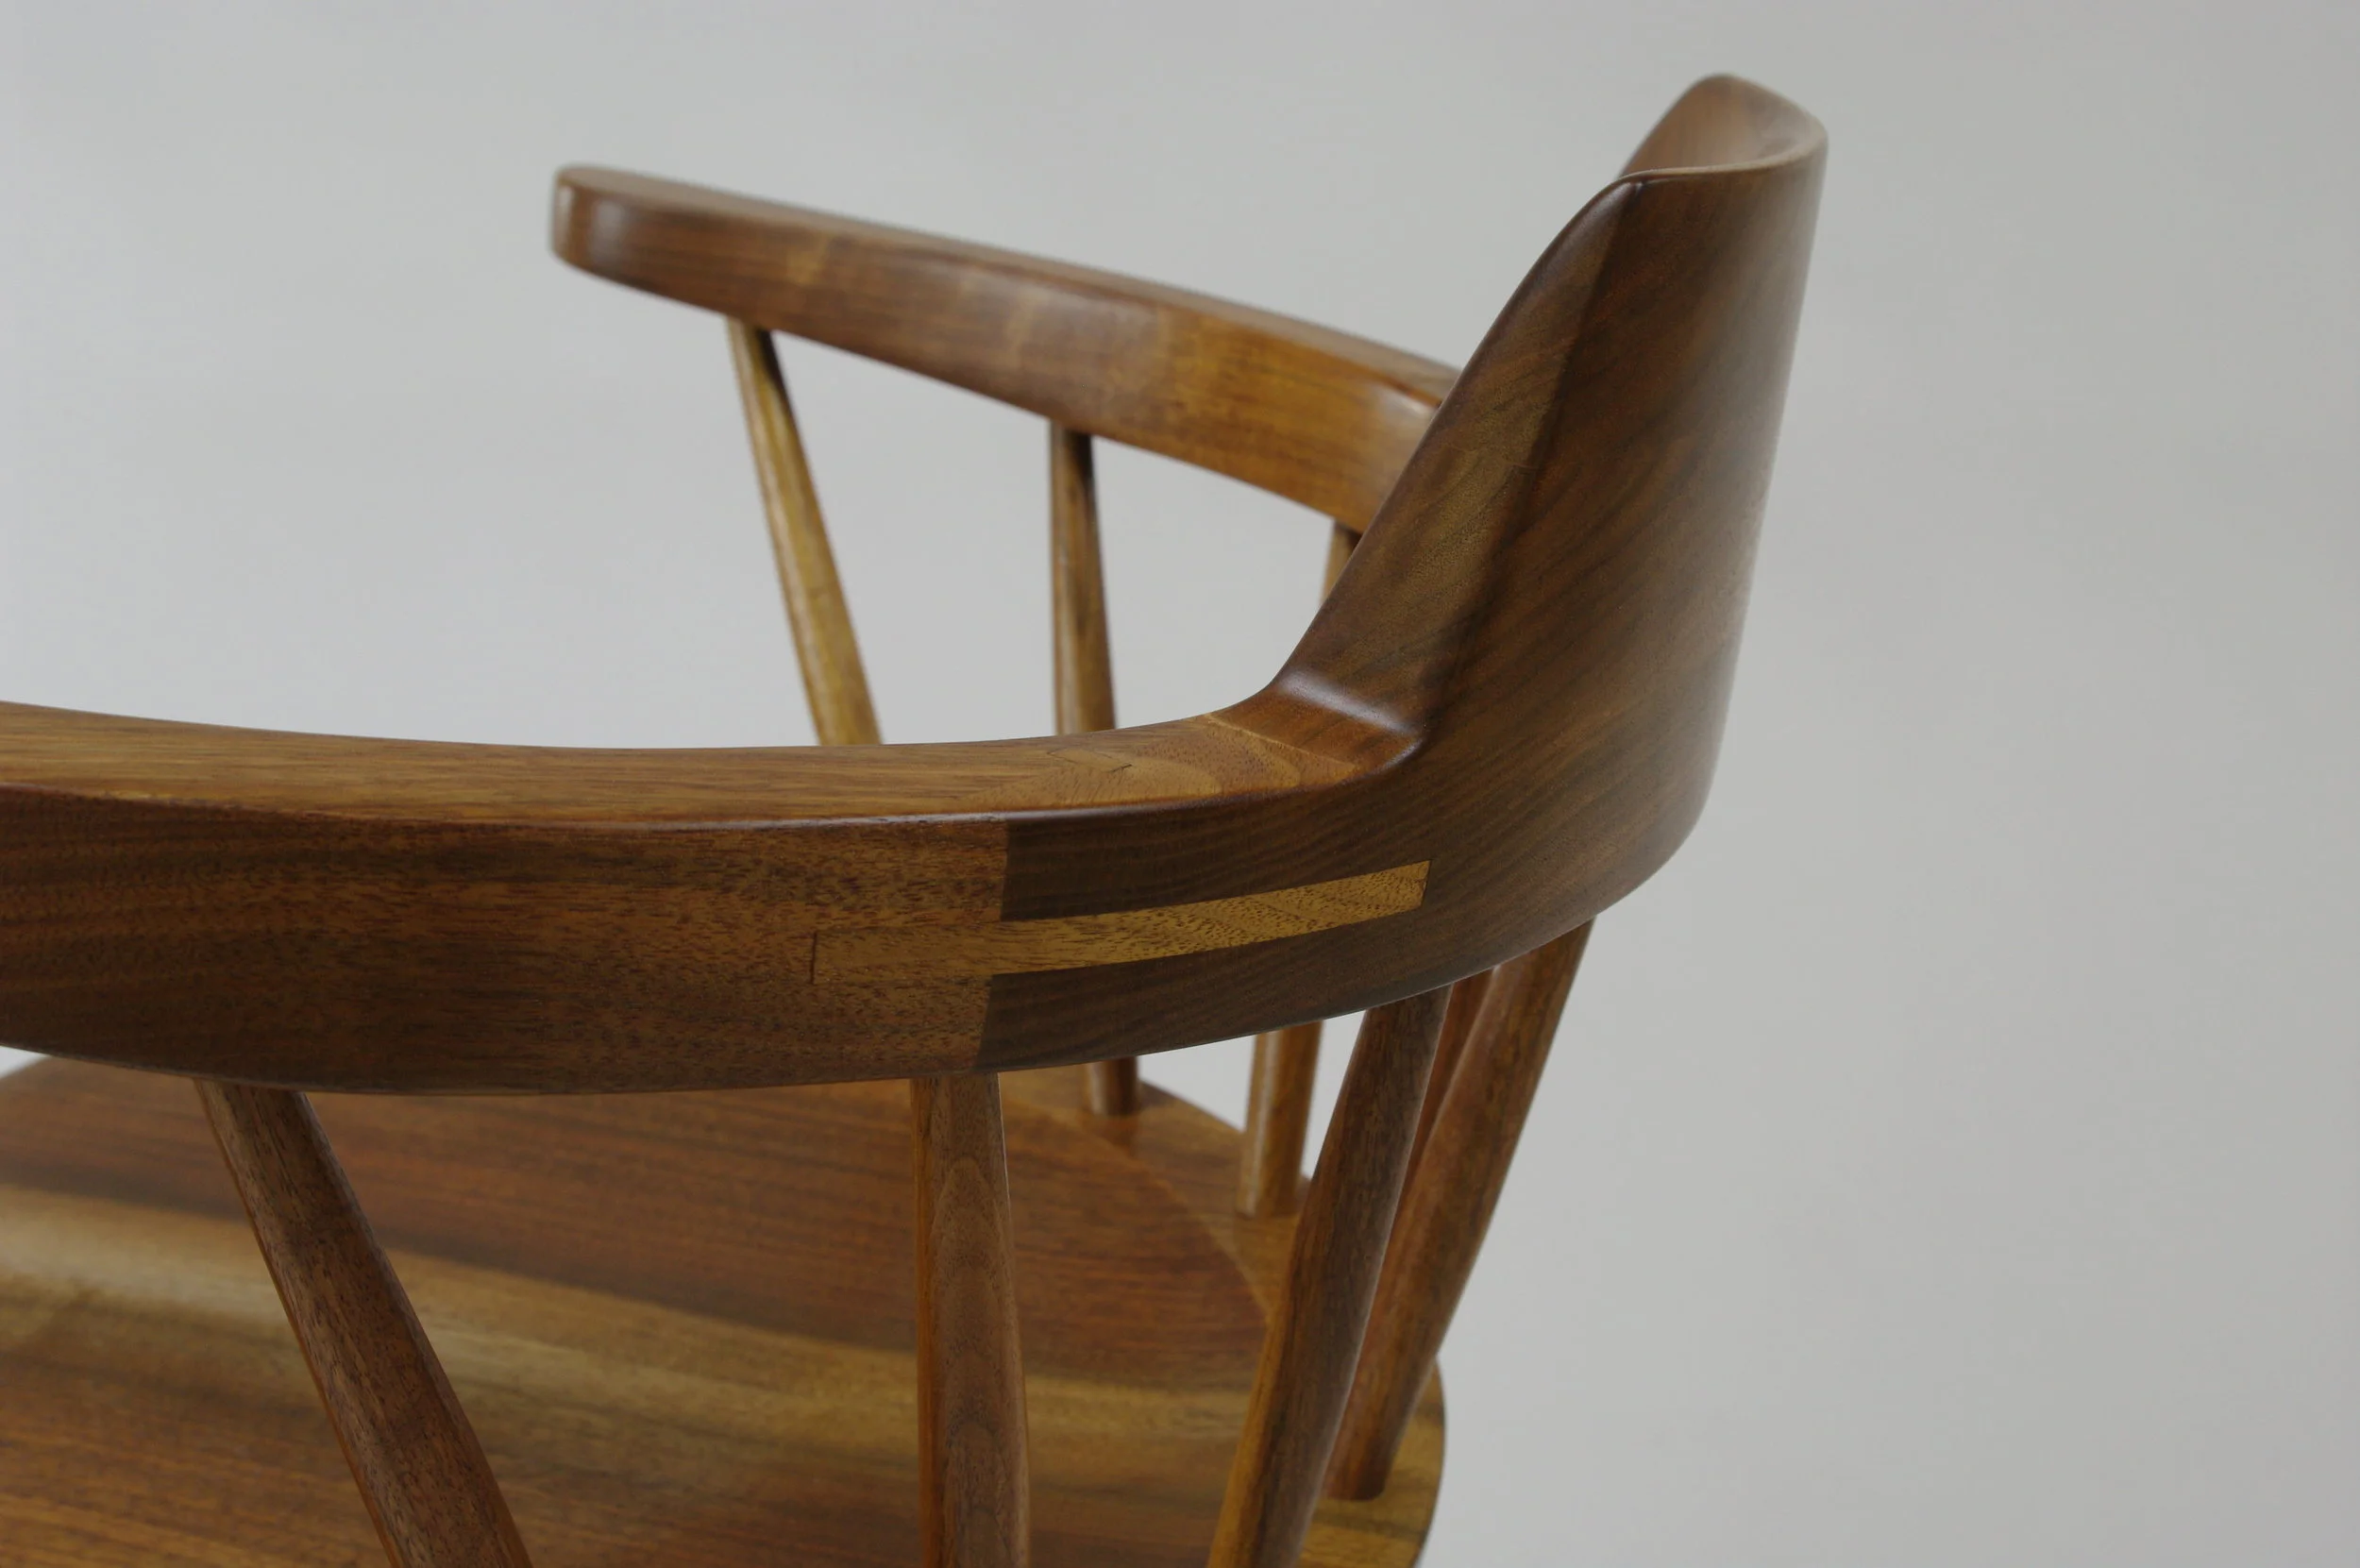
What began as a furniture hobby and time growing up in the family home furnishings store, is now a business to restore high quality mid-century modern pieces representative of the period.